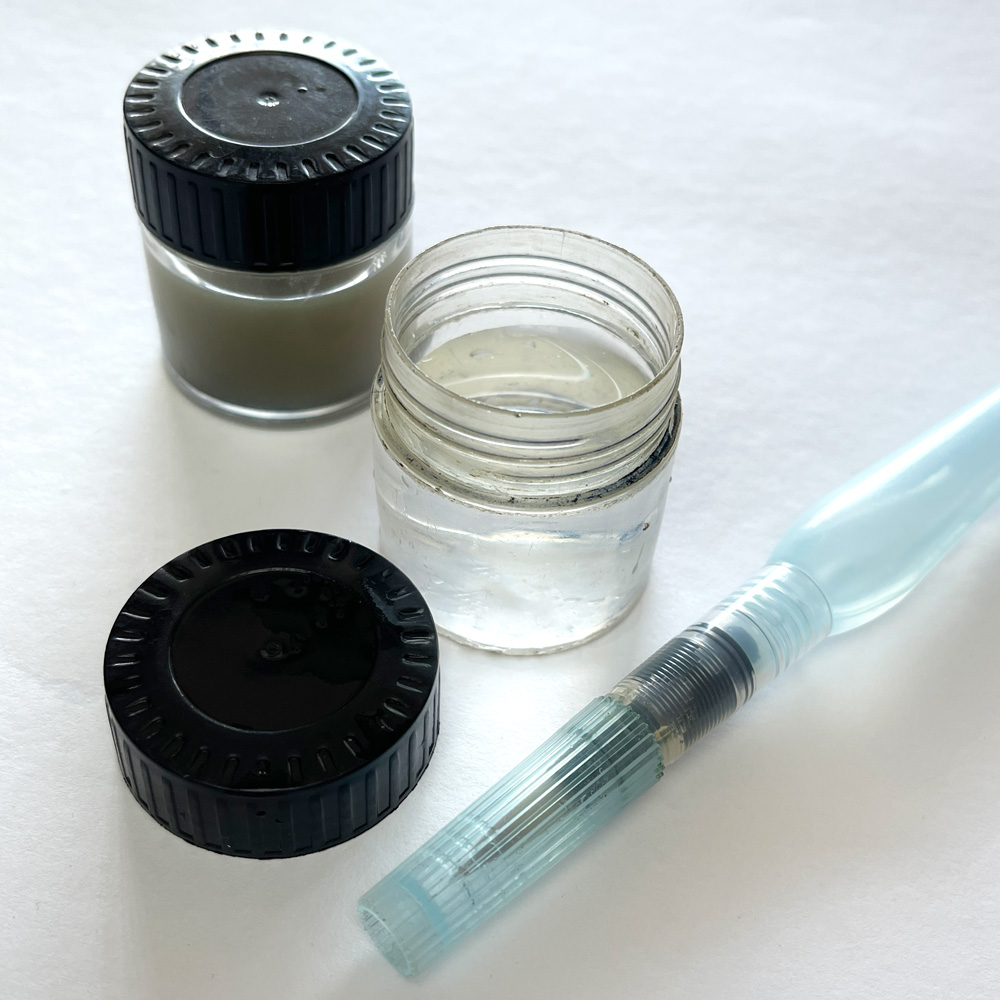
This week a question came up inside my Foundations course about how to handle water when sketching on location. And I realised that I’ve never actually dedicated a blog article to this topic. So that’s what I’m going to do today!
For many years I have used the same system – two small water containers which always contain water (either clean or dirty).
This is the best solution for me as
- I always have water on hand and if needed I can do a sketch using dirty water. (More about this below.)
- I have two options – often one is dirty and one is clean, but if both are dirty I can choose the less dirty!
- I can responsibly dispose of the dirty water later when I have access to a sink.
- They do not take up a lot of room.
General Comments
1. These water containers were bought from a 2 dollar store many years ago (I stocked up at the time) but if you are in Australia, Derivan makes a similar little jar – see here.
2. I only use one water container per sketch. In the studio, I have two water containers and successfully use one to clean brush and the other to pick up clean water. This means that one is dirty and the other remains clean but I find it hard to use this technique when I’m out sketching on location.
3. If I’m travelling or expecting to do a lot of sketching back-to-back in one day I often carry a small empty bottle to collect the dirty water. And then I can top up these containers with water from my drinking bottle.
4. I use blu-tac to attach my water container to other objects (palette, support board, bench etc). I find blu-tac more versatile and lighter in weight than magnets (which I know a lot of USKers use). I used to keep the blu-tac on the bottom of my containers but it got everywhere! So now I carry around blu-tac in a separate container for when I need it (refer to above photo where the blu-tac is in a SD card holder). BTW I rarely use a support board these days (a topic for a separate article?) and typically place my water container on the bench next to me.
Managing the dirty-ness of the water
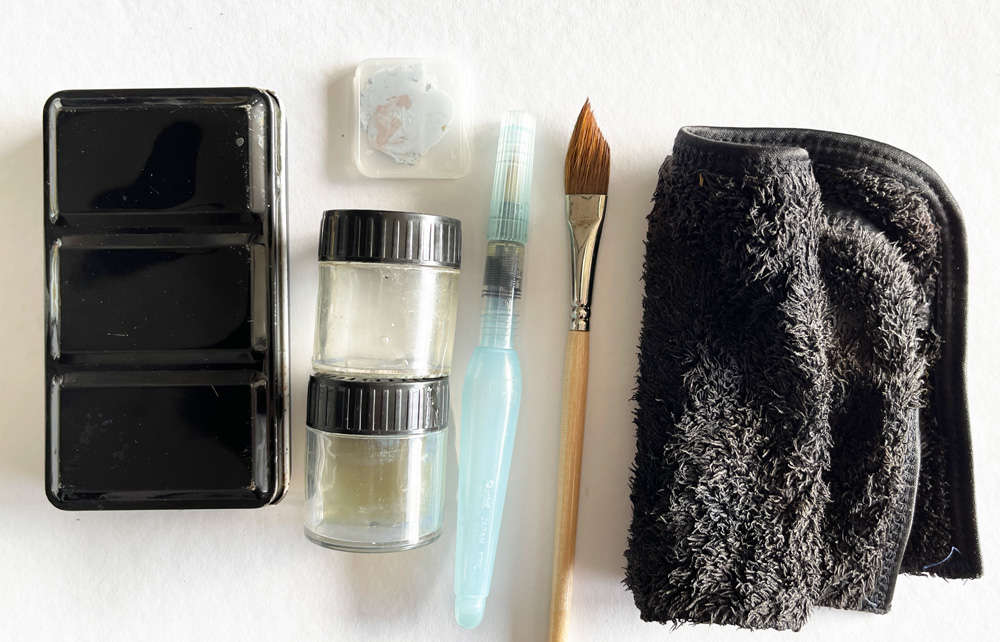
For many years I have used a ‘dip and dab’ technique which means the water stays cleaner for longer. The idea is to dip the brush into the water (and not stir it around!) and then dab/wipe my brush on my black microfibre cloth. THis results in the pigment ending up on the cloth and not in my water container. Yes, the cloth gets wet and dirty but that’s much easier to deal with.
If I use enough pigment I can successfully create bright vibrant washes using dirty water. In my Watercolour course, I’ve demonstrated this fact creating a lively vibrant yellow wash using greenish dirty water.
Sometimes I intentionally add pigment directly into my dirty water to change the hue. I find that my water mostly ends up greenish so I’ve been known to add red paint to it so that the dirty water is more grey and then suitable to use for a sky wash.
I also carry a water brush as a clean-water supply, particularly for skies where I typically pre-wet the paper first. Note: I much prefer to use a real brush than a waterbrush. Find out more about why in this series of articles from last year.
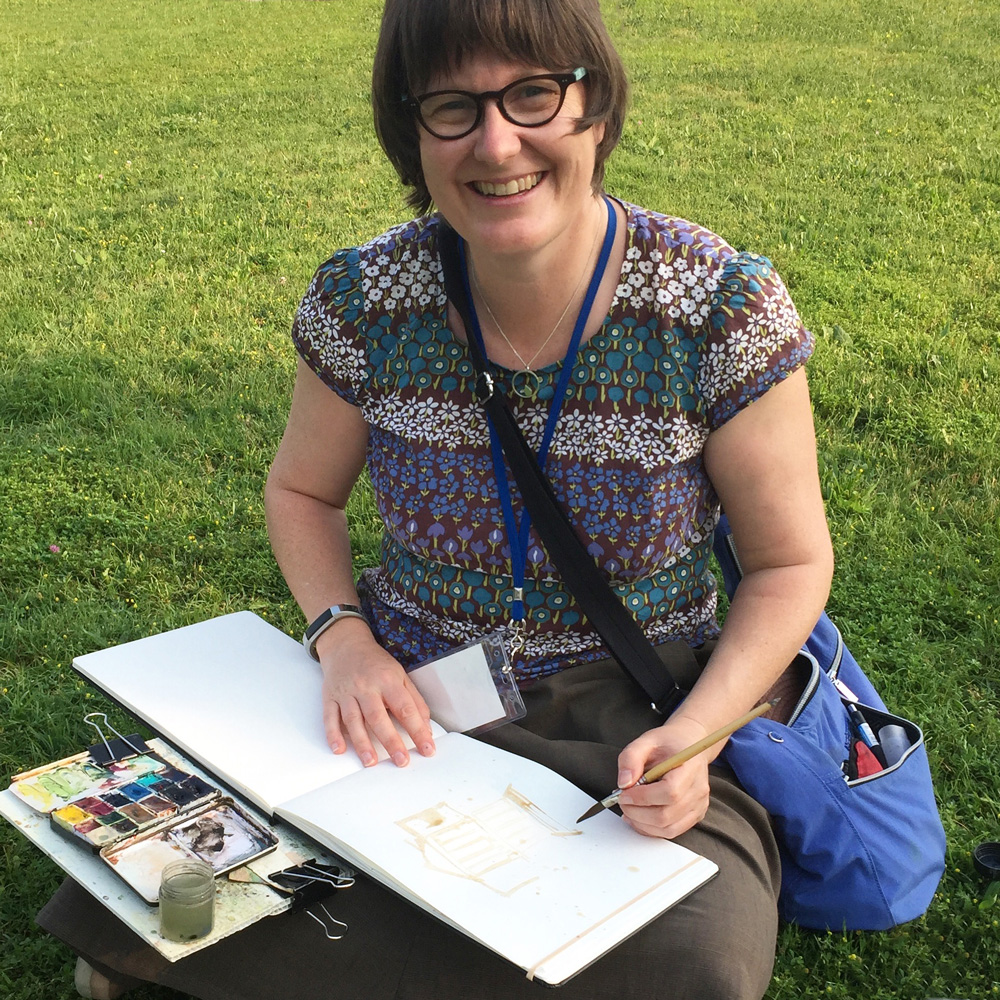
To prove my point about how it’s possible to do lively sketches with dirty water, here is a photo from a few years ago…
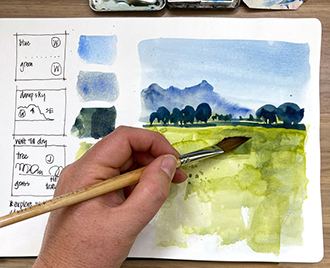
Notice that I started a sketch with slightly dirty (greenish) water but it didn’t affect the light washes on my page.
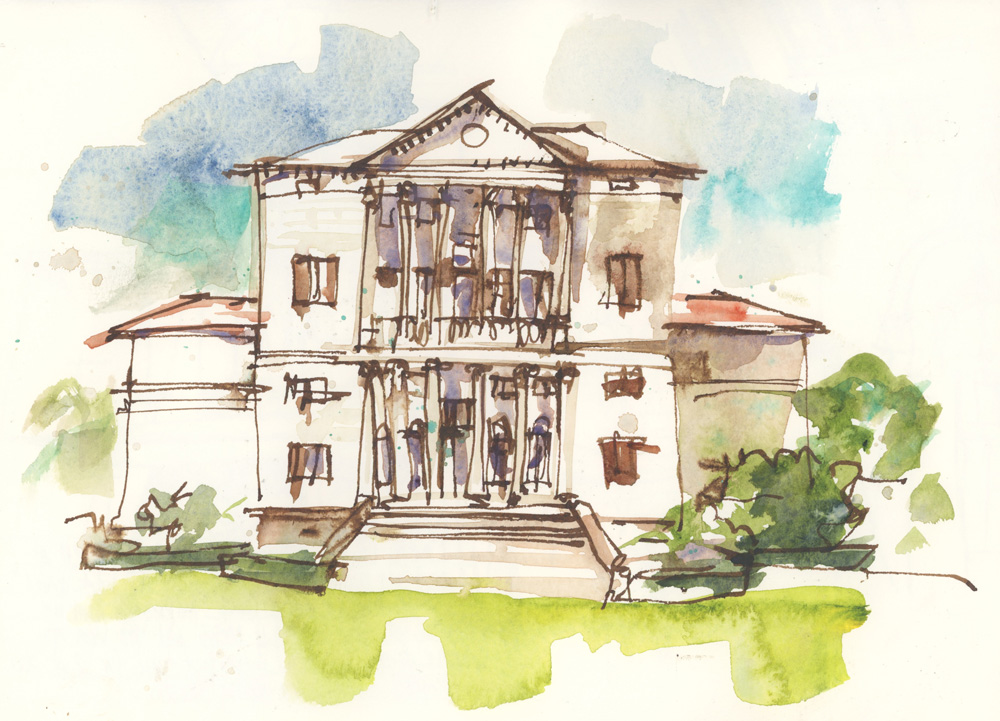
And here is a scan of the finished sketch.
Just for the record, it is always desirable to use clean water but sketching on-location involves some compromise. Water supply is one of the areas where I accept compromise so that it’s easier to sketch more!
I’ve been extremely happy with this approach to carrying water! But everyone is different so please let me know (in the comment section below) how you manage water when you are out urban sketching.
(If you are reading this via email, please click on the article title link below and add a comment on my blog. Thanks!)


7 Comments
Erin, Thanks for another helpful post!
An NYC Urban sketcher, Leslie gave me a tip which is useful to have clean water- a silicone ice cube tray. I bring a water container and pour water into several ice cube sections which makes it easier to keep some water clean throughout my plein air painting session.
The blu-tac in an SD card holder is a great idea! Small but mighty!
Hi Jamie, I’m happy that I though of it!
Thank you so much for sharing this! I would also love to see a separate article on going support-board-free. I’ve not yet found a good setup for support boards, although I’m always tempted to try them again. Take care, Liz!
Request noted. 🙂 I need to have someone with me to take a photo and I’m normally solo when sketching.
Thank you for this post. I have a problem, i can t see great difference between Daniel Smith ultra marine blue and cobalt blue. Could you tell why you choose one or other. Apologize for my bad english but i m a géant fan of your blog.
Hi Veronique.
I replied to your previous question – did you see it?
Check out this article for differences
https://www.lizsteel.com/colours-in-my-palette-blue/
It’s hue (a mid colour) and pigment characteristics (less granulating)
NEWSLETTER
Subscribe for first notification of workshop + online classes and more.