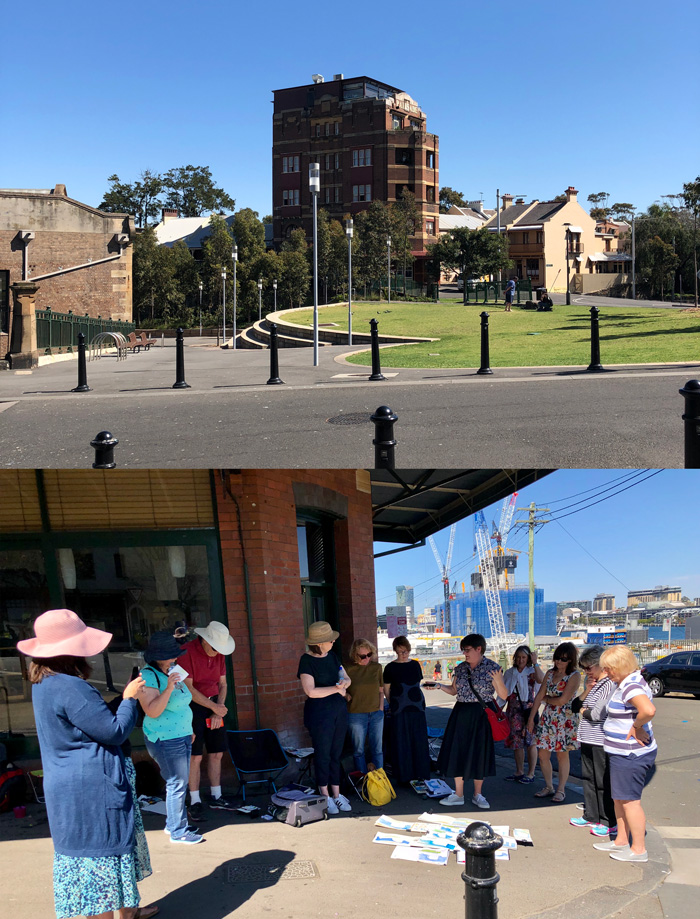
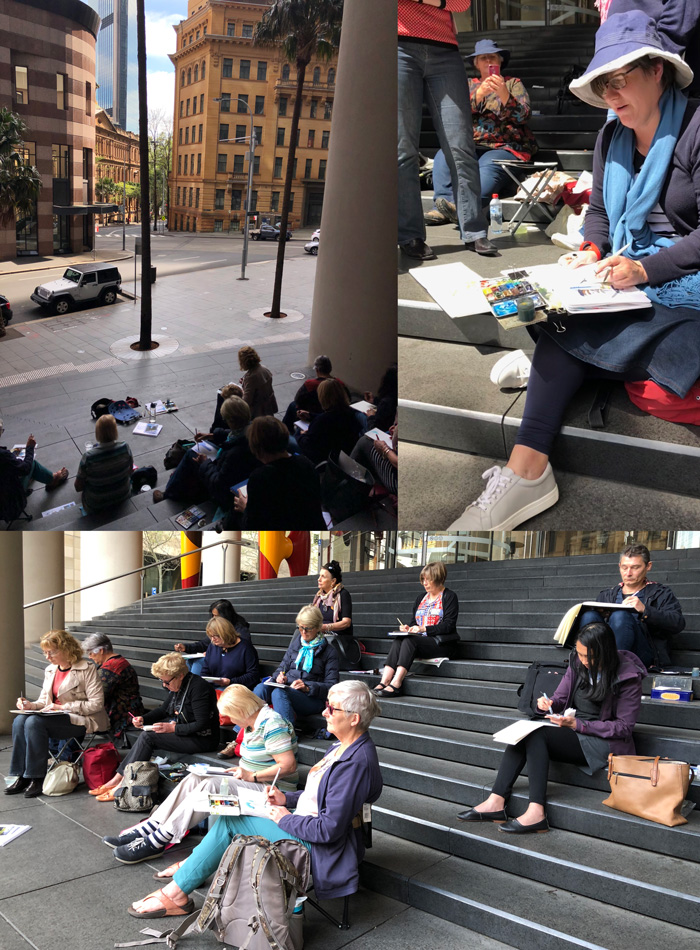
This year I have taught three workshops as part of the USK SYD 10×10 Programme and they all have been focused on the one topic: Sketching Complex Scenes in Shapes and Edges. As well as sharing some photos from the workshops, I thought it would be nice to share some tips which you can implement straightaway into your own work.
The two most important skills to have when sketching complex scenes are
- to achieve a relatively accurate composition of the main elements and
- to simplify all the details and colours into a few big shapes.
If you can achieve these not only do you have a strong sketch, but you also have a way of working that will free you up to sketch faster.
The key to both of these skills – accuracy and simplification – is to look for the main shapes and the important edges.
I taught these concepts at two different locations:
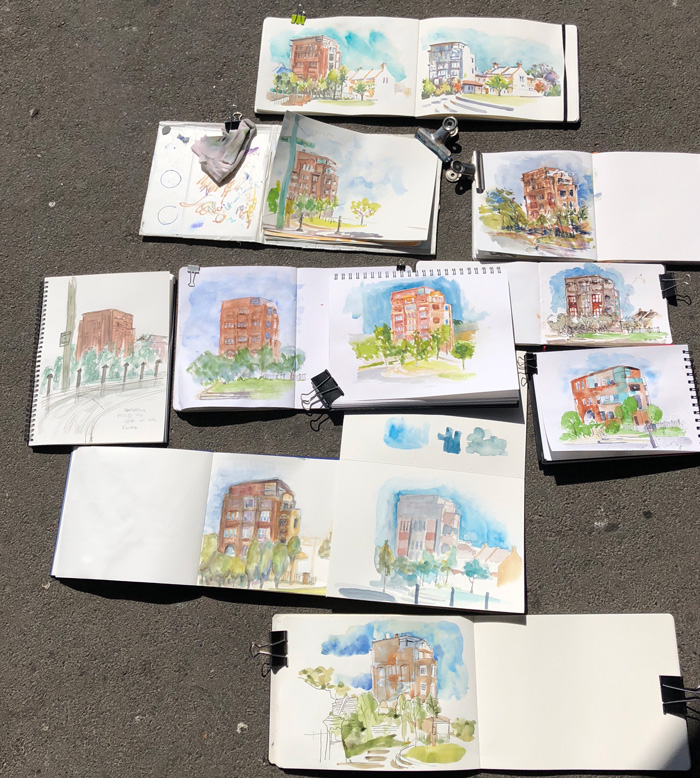
- Millers Point where we had a big building surrounded by smaller buildings and an irregular shaped grassed area in the foreground.
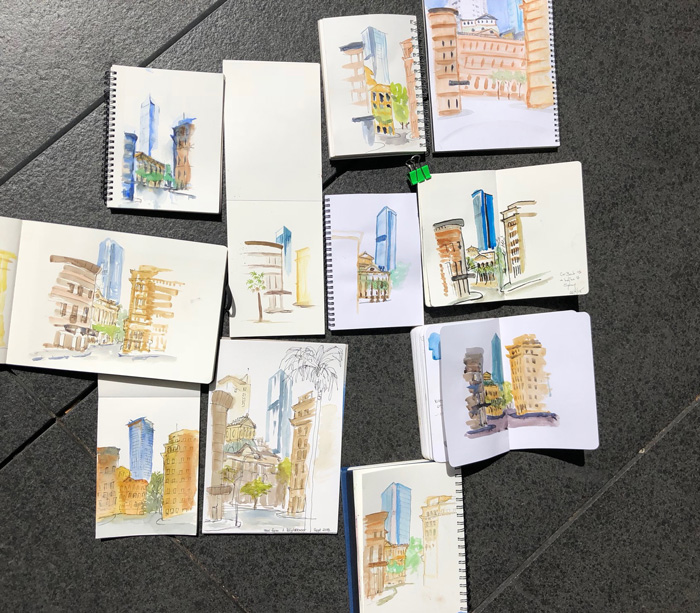
- CBD (downtown) where we were looking down a curving street between two buildings with some skyscrapers in the background.
Both were great locations to explain these principles. Even though the CBD location seemed less interesting, it was the better teaching location as it had more takeaways.
In these workshops I had fun playing around with the ‘normal order’ of sketching (measuring, drawing in ink and then painting) to help people see better.
The exercises in some some respects were pretty simple, but the implications were huge. There were a lot of important observational takeaways which came up from our specific scene.

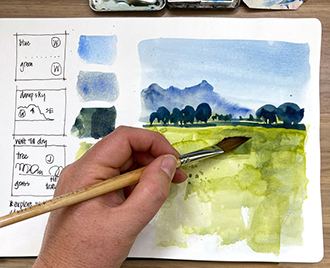
The first exercise was to paint the negative shapes of the sky and the road without adding any of the buildings. It was definitely a ‘weird’ thing to do for a lot of people, but the goal was to help them see the sky as an abstract shape.
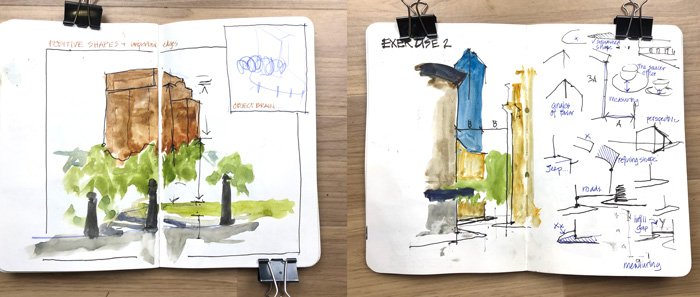
The second exercise was to paint the positive shapes of the building, combining them into big blocks and looking at the relationships between them. In a reversal of the normal approach, we then did some measuring to check the accuracy of these shapes (ie. we didn’t do any measuring while we were painting the shapes) and in the process discovered what were the critical edges which set out the whole scene.
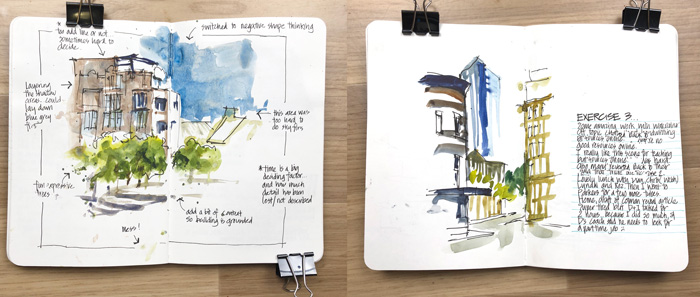
The final exercise was to have a bit of fun combining edges and shapes – but starting with paint first!
Some really amazing work in the last exercise – especially as most people have never worked this way before.
CBD
So without having done the workshops, are there any tips which I can share which will help you today? Yes, of course!
1. Analyse the scene
The first is to take your time looking at the scene before you start. This is basic and yet it is so easy just to start sketching without any thought of what you are looking at. You should be thinking about what your story is (a topic for another article) but also you should be looking at what the big shapes are and how many of the different parts of the scene merge together when you squint. Sometimes these are the ‘shadow shapes’ and sometimes they are areas of similar colour (hue and value). Then look at how these shapes fit together.
2. Check big negative shapes
Look at the sky shape and the road (foreground) shape before you start as these often help correct some common object brain errors. Look at how far down into the scene the sky shape extends (is it triangular in shape) and also how flat the road/foreground shape is.
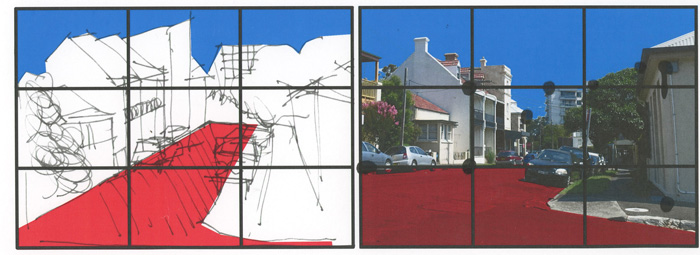
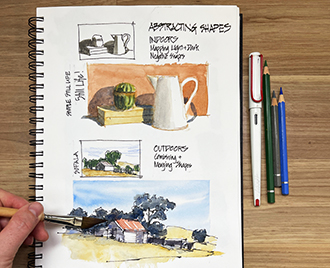
This image from my SketchingNow Foundations course (a demo in Lesson 10) shows how it is easy for the object brain to take over and you draw what you think you see resulting in shapes that are quite wrong.
3. Take care with foreground elements
I see many urban sketches (even from seasoned sketchers) which have foreground elements drawn without careful observation and as a result the sketch as a whole looks wonky.
Take your time and look carefully at the important edges in the foreground of your scene – in particular look at the angles (are they flatter than you think?) and use horizontal and vertical plumblines to help with tricky bits.
In our CBD location I had to take my time to draw the road and the kerbs carefully so that the road looked as if it were going downhill. It was really hard to draw these quickly, so I knew from experience that I had to take extra care. (Yes, even I go slow for tricky bits like this!)
I hope these tips help!
I love teaching these techniques in my workshops and am always looking for good locations with winding streets to use as subject matter. Italy is a great location with lots of fun streetscapes where perspective rules don’t help and you have to rely on observation. These scenes are actually my favourite things to sketch these days, so you can imagine why I love teaching the Palladian Odyssey tours so much. I will share some more examples over the next few weeks from our adventures in the Veneto.
Also if you have enrolled in any of my SketchingNow Courses, these are the specific lessons which will give you some more information on these techniques.
Foundations Lesson 3 – Abstracting Shapes
Foundations Lesson 10 – sketching on location, composing the view.
Edges Lesson 3 – Prioritisng lines
Edges Lesson 4 – Prioritisng tone
Buildings Lessons 4 – Mapping Light and Dark
Watercolour Lesson 4 – Watercolour Sketching – starting with darks
And finally, what you do struggle with when it comes to sketching complex scenes?




2 Comments
Liz,
Valuable information and easy to understand and incorporate into daily practice. Please do write about “what’s your story” because I view it as one of the key elements for making choices. Thanks always.
Frank
You pack so much useful information into each post Liz! Oh dear, this makes me think that instead of going to straight to Buildings when I’ve finished Watercolour, perhaps I should do Foundations and Edges first too! It’s a happy dilemma 😀
NEWSLETTER
Subscribe for first notification of workshop + online classes and more.