I hope that you had a great Christmas with loved ones and lots of yummy food. 🙂
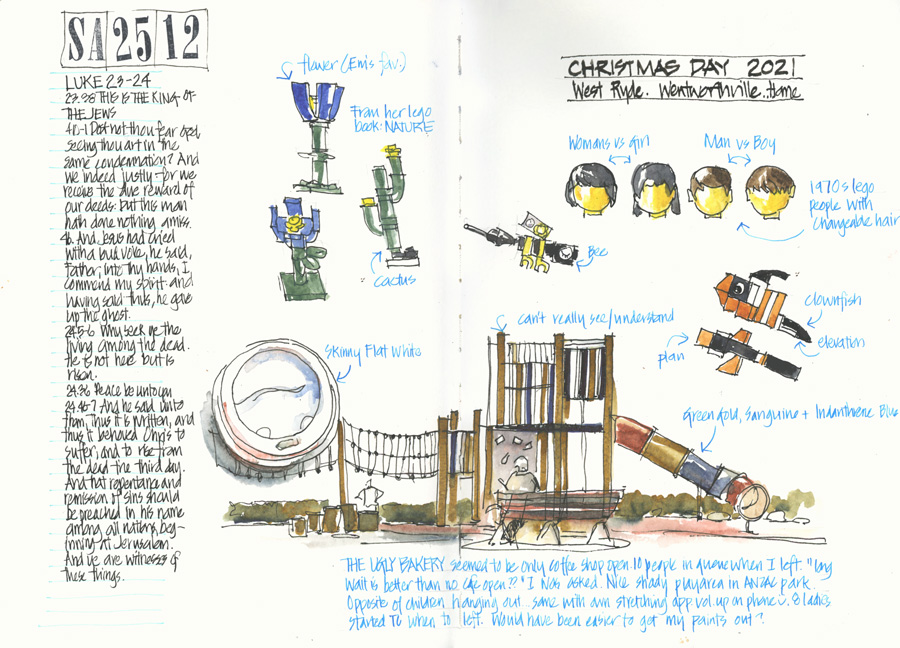
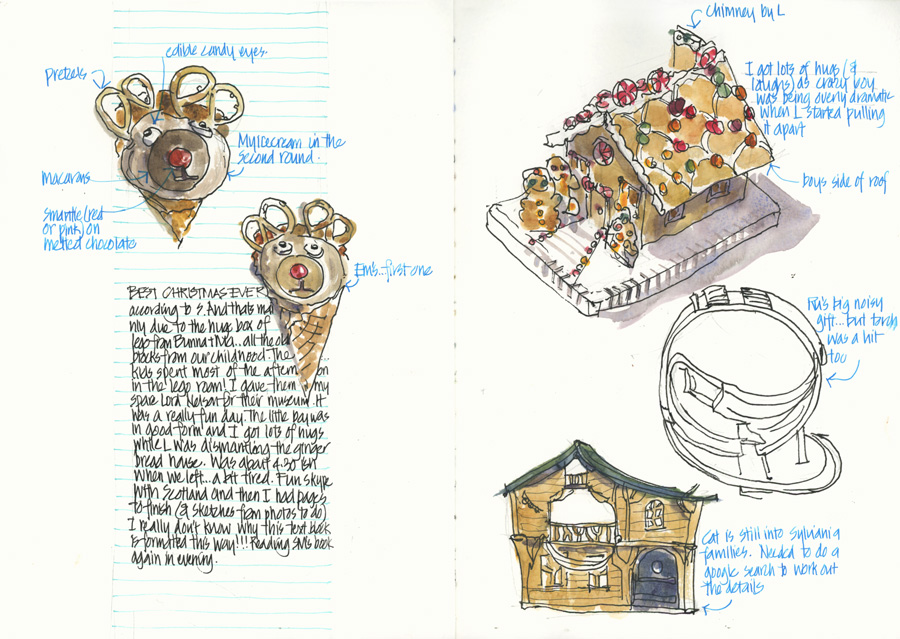
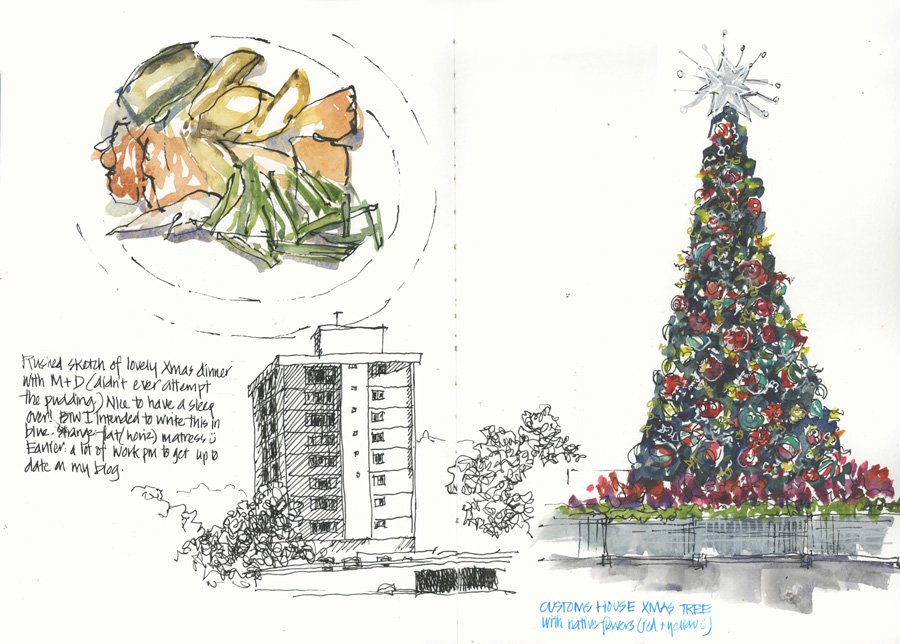
I generally don’t make a fuss for Xmas (you can read more about that here) but this year I had some lovely time with family – including a roast dinner with my parents (a sleepover) on Xmas Eve and then fun with my nieces and nephews on the 25th.
Xmas Eve and Xmas Day with family
In terms of sketching – this is what I managed….
I normally like to get out for some serious urban sketching at this time of the year. Sometimes it’s on the 25th (my family normally has our get-together on the 26th) but this year Xmas Eve was my big sketching outing. I’ve already shared a summary of my sketches (in this article) but share more – the completed spreads and the new brushes I was testing.
Xmas Eve Sketch outing
So first up, here are the finished pages from my outing to the City on Xmas Eve (after my morning coffee and sketch in Lindfield)…
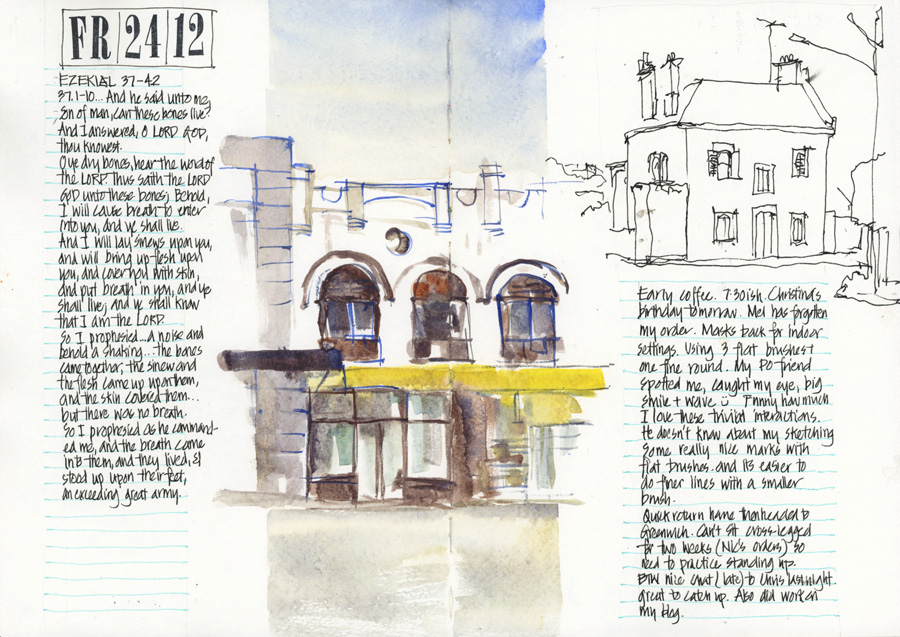
Lindfield Shops and a house at Greenwich.
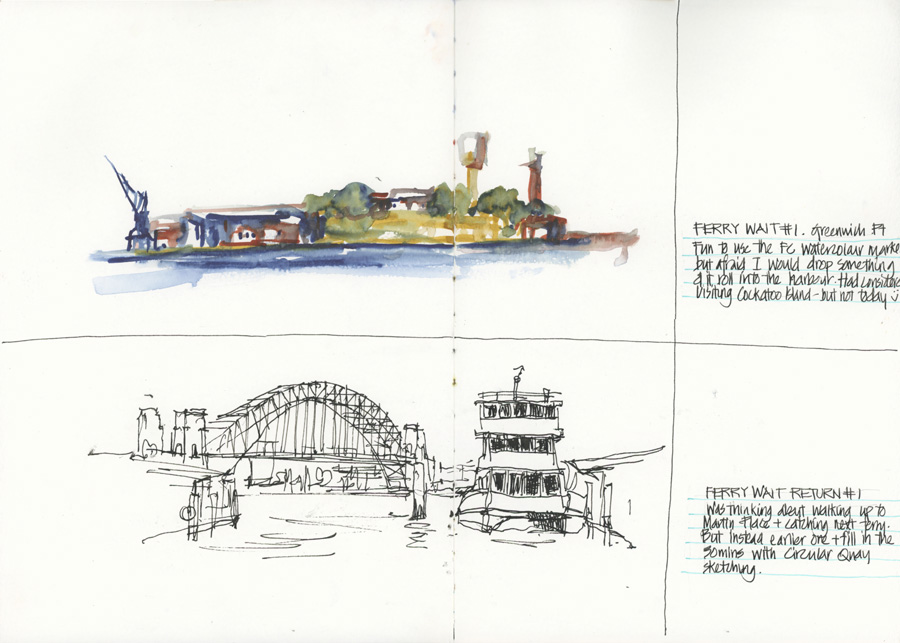
Waiting for the ferry sketches – from Greenwich Point and from Circular Quay. More about the watercolour markers (used in the first sketch) coming soon – I promise!
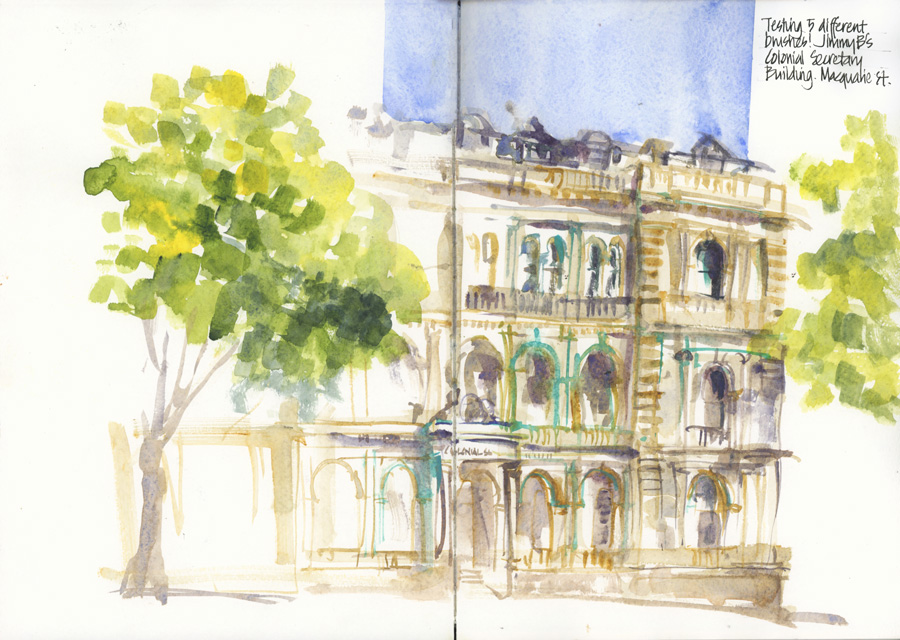
Colonial Secretary building on Macquarie St by JimmyB (more about this sketch below.)
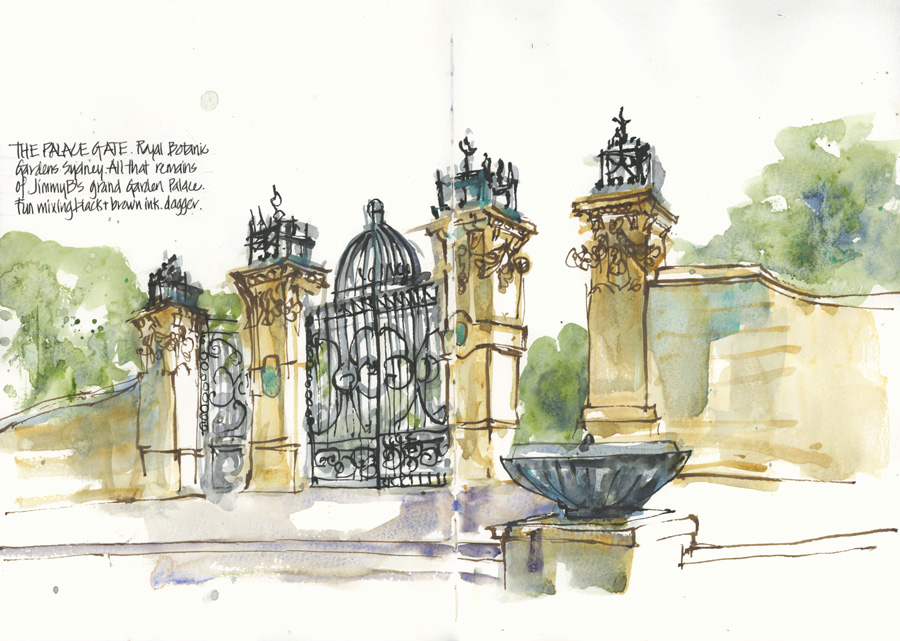
The Palace Gates to the Sydney Botanic Gardens. As the Garden Palace was designed by JimmyB and this is all that is left of it, I’m making the assumption that these gates were designed by him as well.
It was fun to use both black and brown ink in this sketch and I’m liking the result.
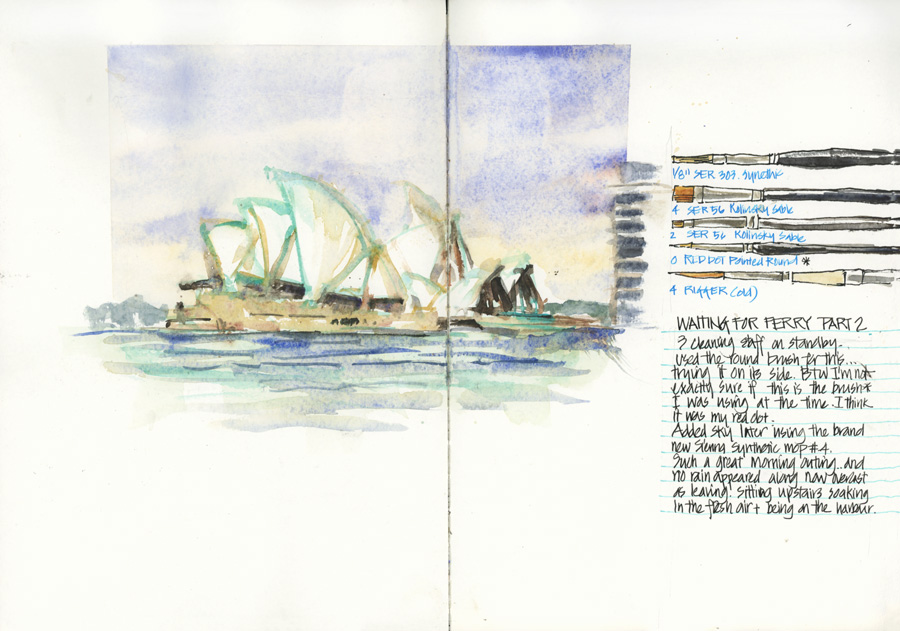
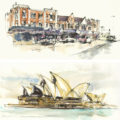
Quick Sydney Opera House (SOH) sketch from the wharf while waiting for my ferry.
New Brushes
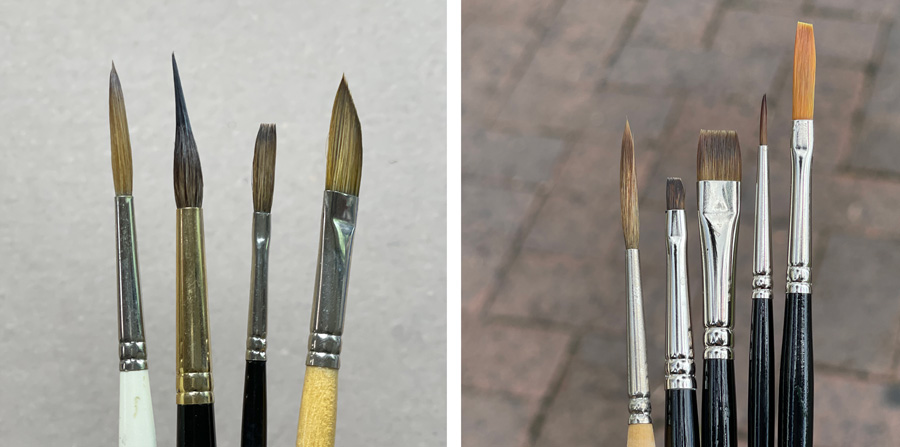
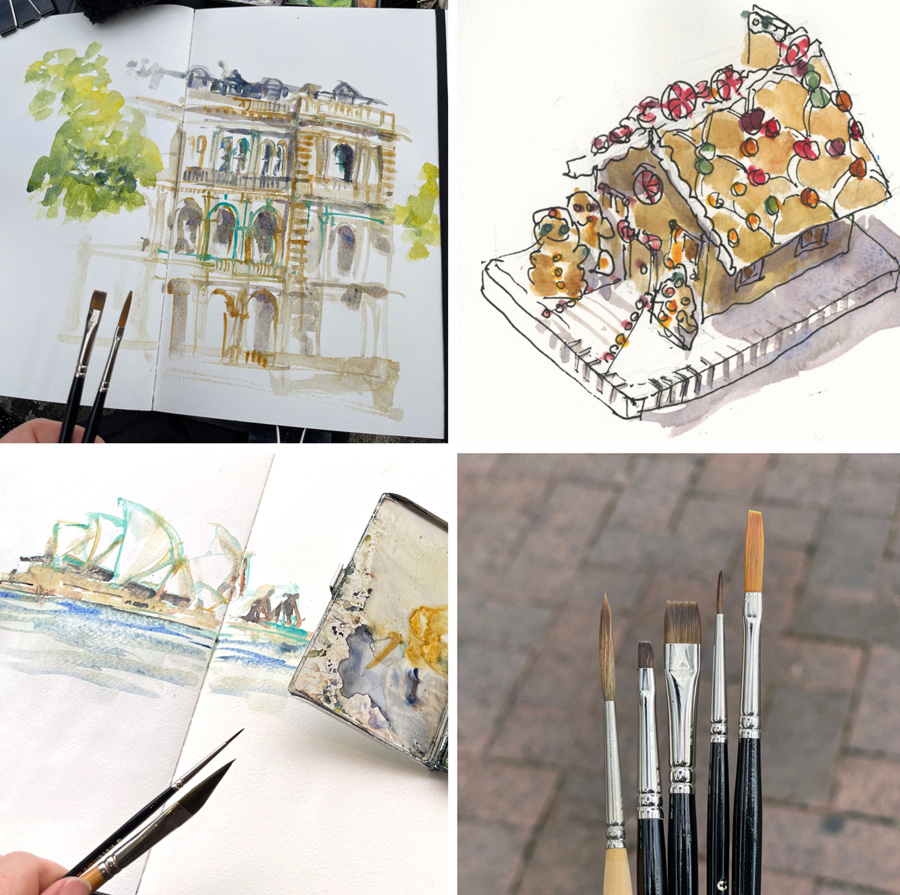
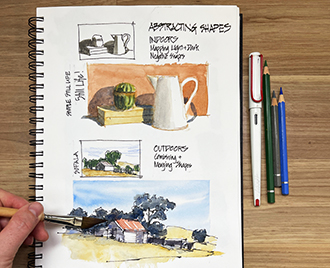
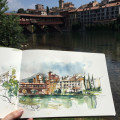
For the last few years I’ve been experimenting with different brushes for detailed work and/or painted lines. This is particularly the case when I’m working paint-only (direct watercolour) and back in June 2020 I tried a rigger, a pointed round and a small one stroke (the first four brushes in the photo on the left) but recently (eg. for my teacup sketching) I’ve been simply using a smaller dagger brush.
Last week I got a package from Rosemary & Co brushes with a few different small brushes to try out. These included some more small flats and a range of rounds (small to tiny in size). I normally prefer brushes with longer hairs as they can hold more water (and create more magic) but I thought it would be fun to try some smaller brushes.
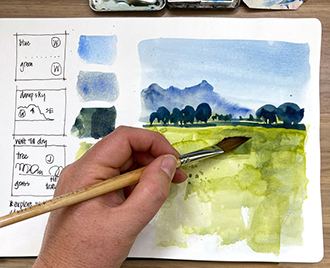
So on Friday I decided to test a few of them out. The photo on the right shows a few of these new brushes plus another rigger that I’ve had for a number of years.
Although you can see on the SOH spread above the brushes I was using on the day… I’m not going to list the exact brush selections as I’m still very much in testing mode and have no specific recommendations at the moment. I’m sharing the details of my experiments as a way of documenting the process primarily for my own reference. However, my hope is that this will inspire you to do your own tests and discover more about what type of tools suit your sketching the best. Ah! I’m getting a head start on the exercise of Lesson 1 of Foundations. 🙂
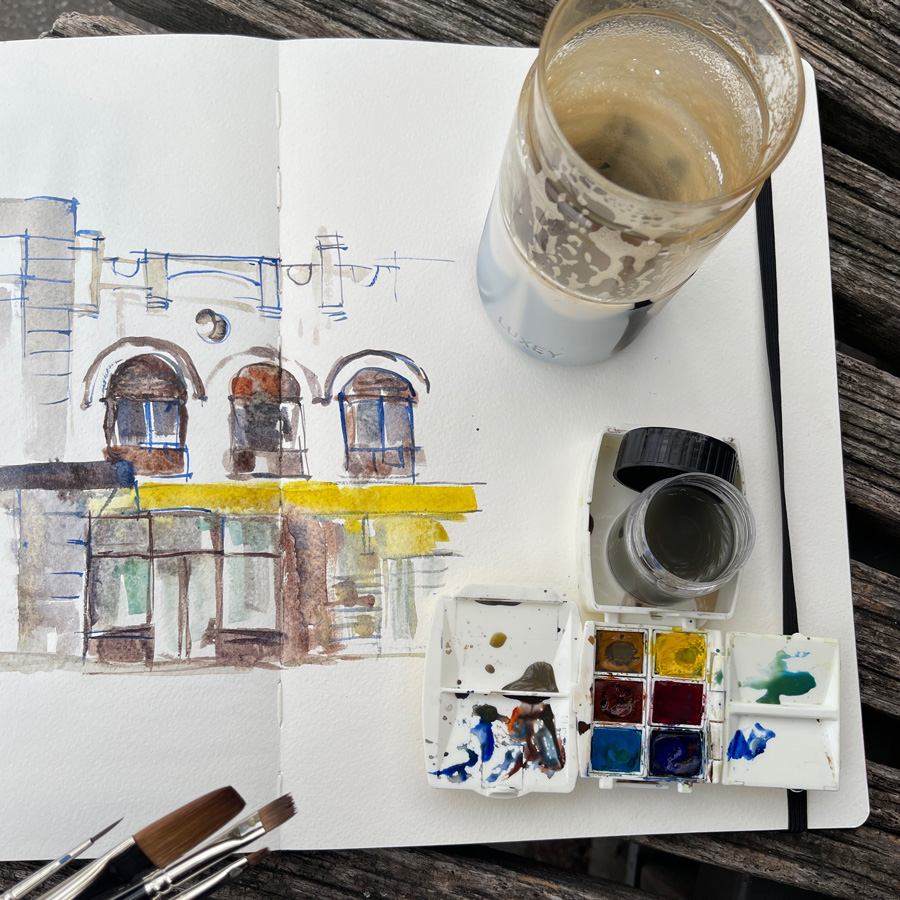
The first brush experiment sketch I did was this one of a Lindfields shop. I’ve always liked the marks made by a flat brush but whenever I use one I miss the ability to draw with it as I can with a dagger brush. So on this occasion, I just focused on shapes.
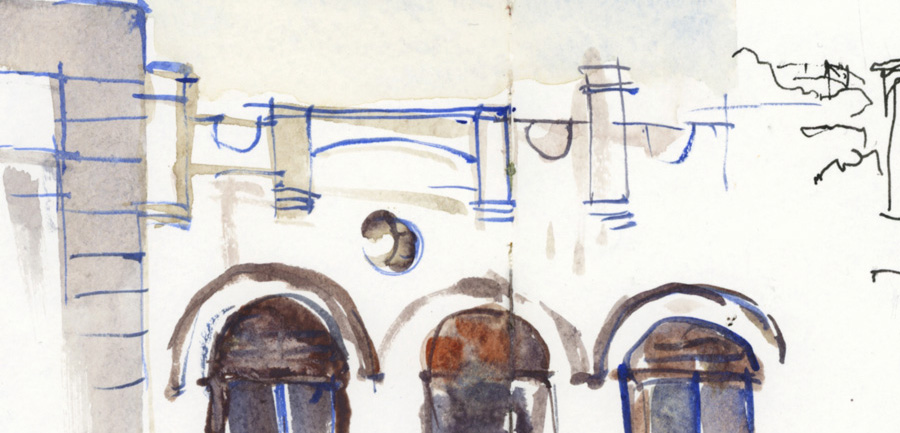
I used a fine round brush (a size 0 I think) for some linework at the end and for some reason decided to make a feature of it and use some Ultramarine Blue for these lines. I want to try this technique again!

In terms of the flat brush marks… I really like this portion of the sketch. There is no doubt that a flat brush is perfect for buildings and subjects with square edges.
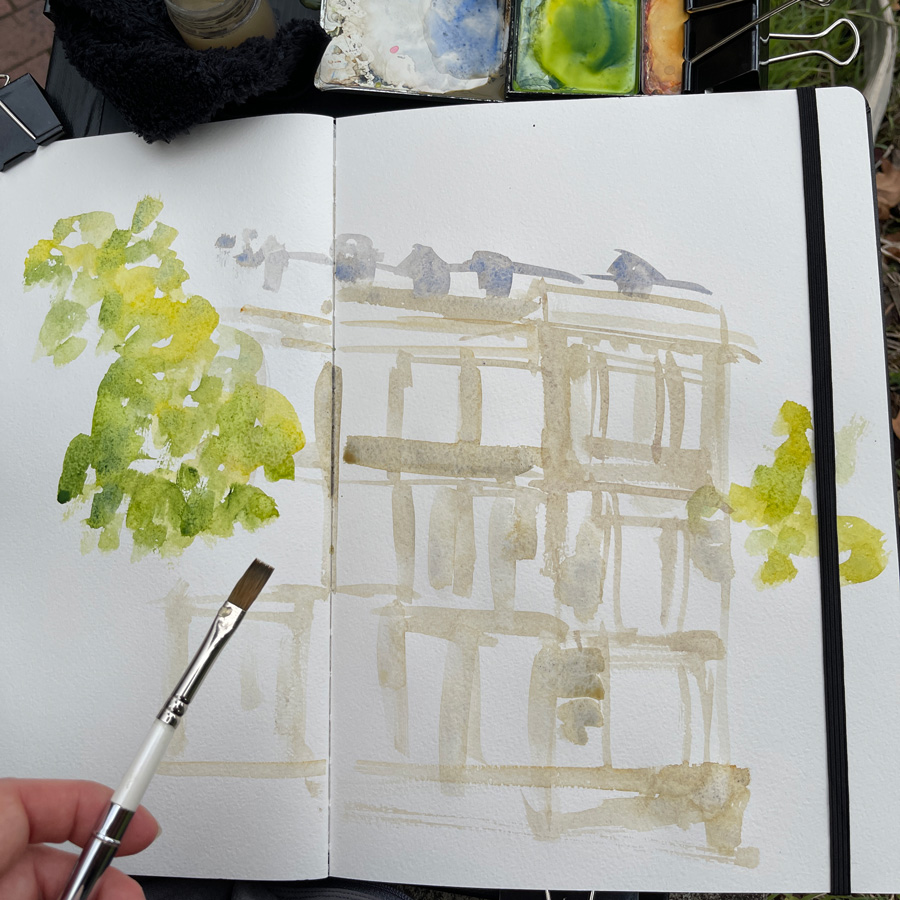
When I started my sketch of the Colonial Secretary building I decided that I would use it to document the marks made by a number of different brushes.
I started off using a 1/4 One Stroke (R4 by Rosemary Brushes) that I’ve had for years. This brush is nearly always in my kit but I rarely remember to use it! As you can see, it was great to establish the main structure – Buildings Lesson 3 🙂
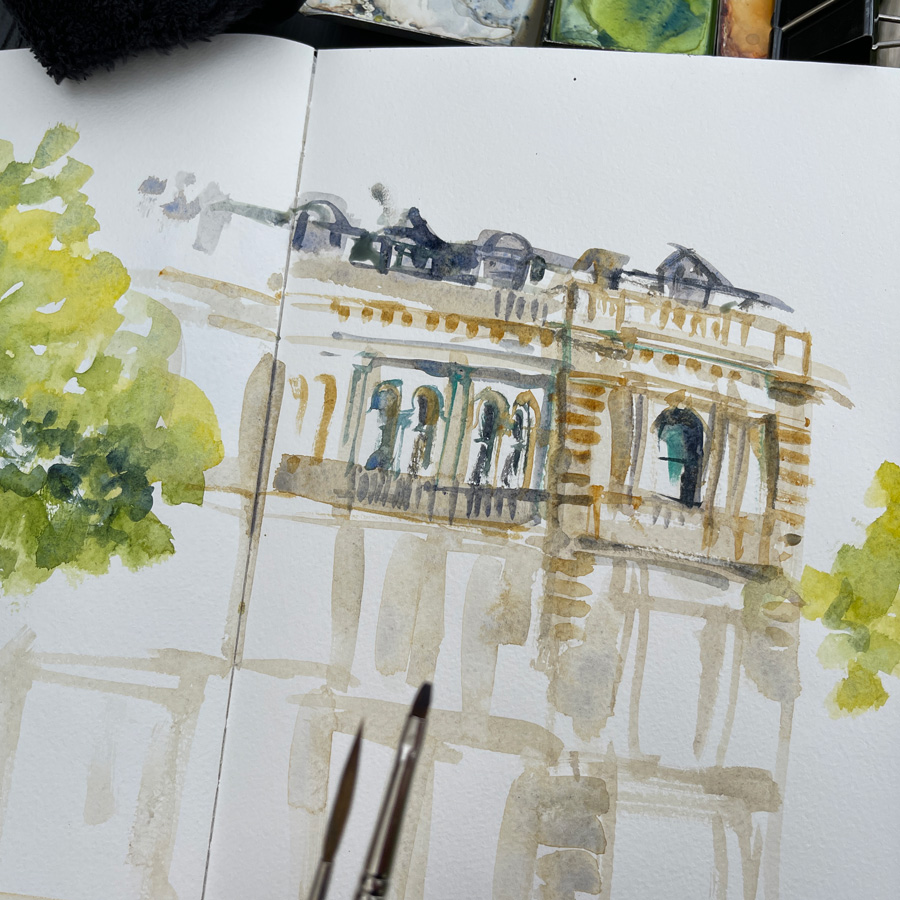
Next I used a rigger and a short flat (size 2?) for the top storey of the building.
I’ve used riggers for a number of years and know that they are great for long straight lines. Curved lines (such as the round windows that JimmyB loved to use) takes a little more control.
I used the short flat for the quoins (corner blocks) and the gaps between the modillions (brackets under the cornice).
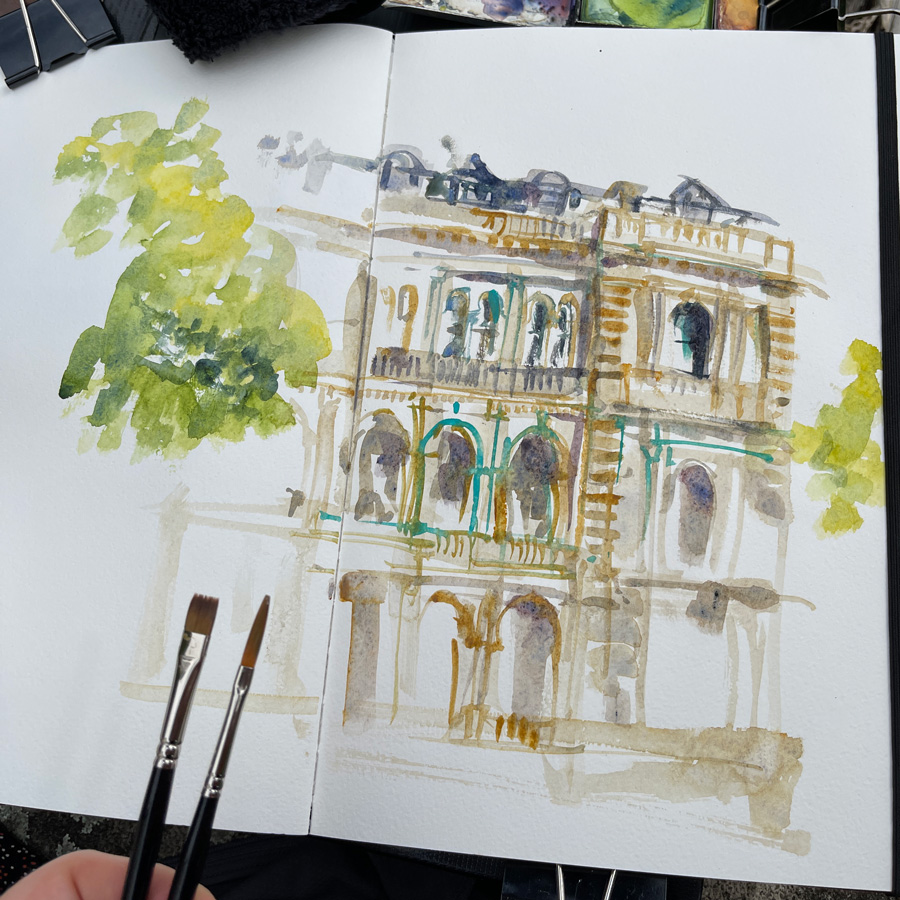
For the next part of the sketch I switched brushes… using a wider short flat (no. 4) for inside the arches and a longer flat (a one stroke) for the lines.
I was working quickly, and trying to mimic the mark-making I create when drawing with my fude nib. It was very apparent that working quickly with the one stroke produced thicker lines than those that I created with the rigger.

For the rest of the sketch I continued using the No. 4 short flat (I was enjoying it!) in combination with a Size 0 round brush for the details. This produced really fine lines and was definitely easier to use than the rigger or small one stroke. It doesn’t pick up as much paint as the rigger, but the short hairs in this brush meant that it felt more like drawing with a pen.
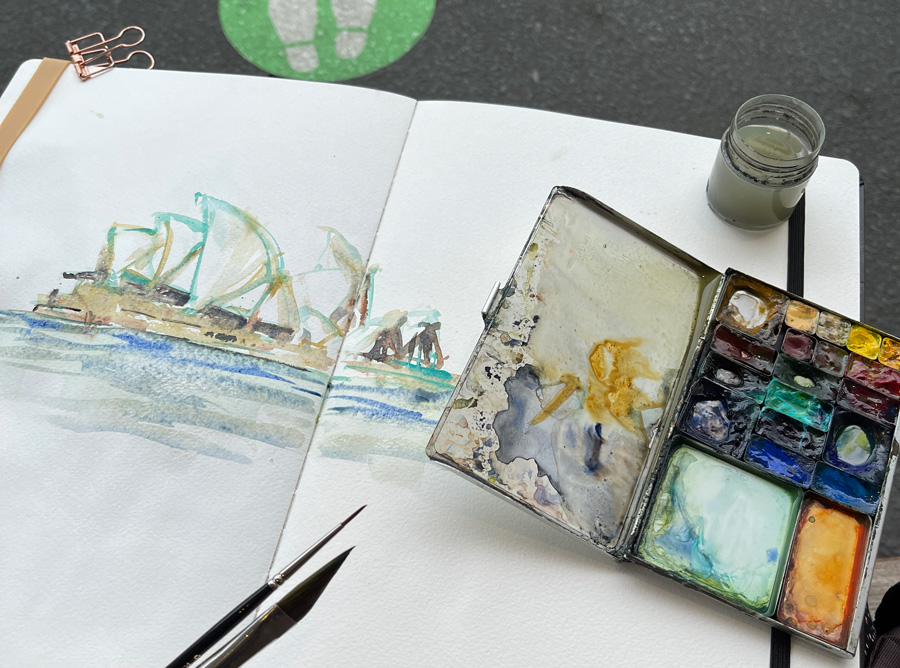
The final brush test I did for the day was to combine this small round brush with my dagger brush for my SOH sketch. I started experimenting with using this brush on the side for wider strokes and was pleased with the result.
So there you have it… a little insight into the way I test out new tools.:-)
If you have any questions please ask them in the comment section below. (If you are reading this via email, please click on the article title link below and add a comment on my blog. Thanks!)
As mentioned above, there is more on this topic inside my Foundations course! If somehow you missed it, I’m going through this course together with a group starting next week and I’m so looking forward to that. Find out more about the Foundations course and the Group Run-through here.

4 Comments
I’m very sorry Liz … But I couldn’t be there in 2122 !! ?????
Hi Lise. It’s abbreviated for dec 21-Jan 22 🙂
Love the look the small brush lines in ultramarine and cobalt teal are doing, when you used that technique! Really adds some life and character! Thanks so much for taking the time to share your brush experimentation process! It’s given me some great ideas!
Thanks Jamie – glad it’s given you some ideas! 🙂
NEWSLETTER
Subscribe for first notification of workshop + online classes and more.