
The more I sketch, the more I am conscious of the importance of seeing edges and thinking about lengths, angles and relationships. Every object that I have trouble drawing is made easier when I focus on it’s edges.
In addition, when I want to sketch quickly, two things that I concentrate on are:
- simplifying my subject into a few important edges and drawing them with the correct relationships to each other
- relying on my eye-hand coordination so my sketch is accurate enough without measuring.
Just for the record I am constantly working on my eye-hand coordination because the better it becomes, the easier it will be to sketch freely. The best way to do this is… yes, you guessed it… constant sketching!
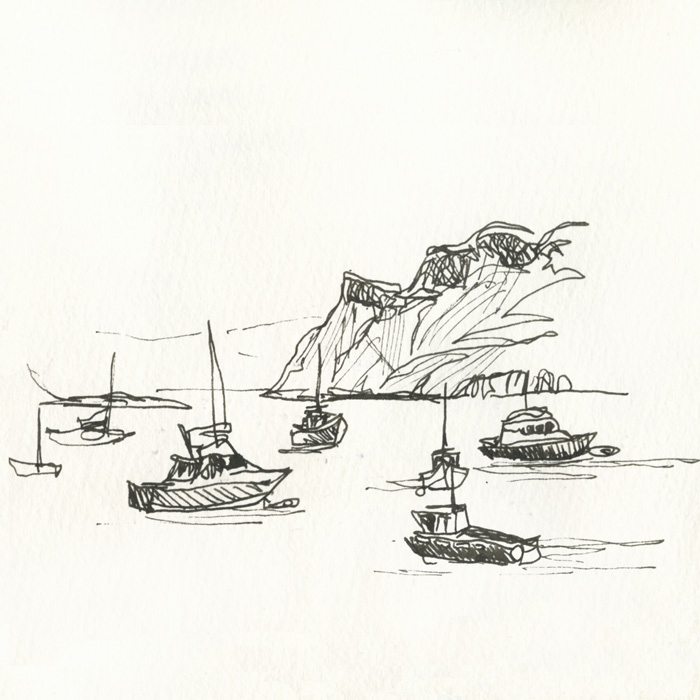
Drawing with a continuous line is a great way to concentrate on edges. If you want an accurate continuous line sketch you really need to go slow and think about each edge, one at a time. But an alternative approach to working slowly and deliberately is to go at your natural pace, feel the edges in a tactile way and embrace the wonkiness.
Here is a sketch from 2016 which demonstrates this idea of ‘talking a line for a walk’ in a spontaneous way. Read the full article here.
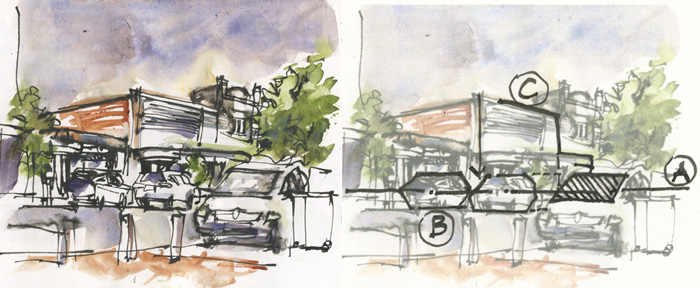
The alternative to drawing in this continuous way – one edge at a time way – is to analyze the scene and determine a few important edges and relationships (Point no. 1 above). This technique is invaluable for sketching complex scenes – such as street scenes like this one. Read more about this sketch here.
But what have I done this week while travelling in NZ?
Well, it has been another busy week, but I did manage to do two quick ‘Feeling Edges’ drawings.
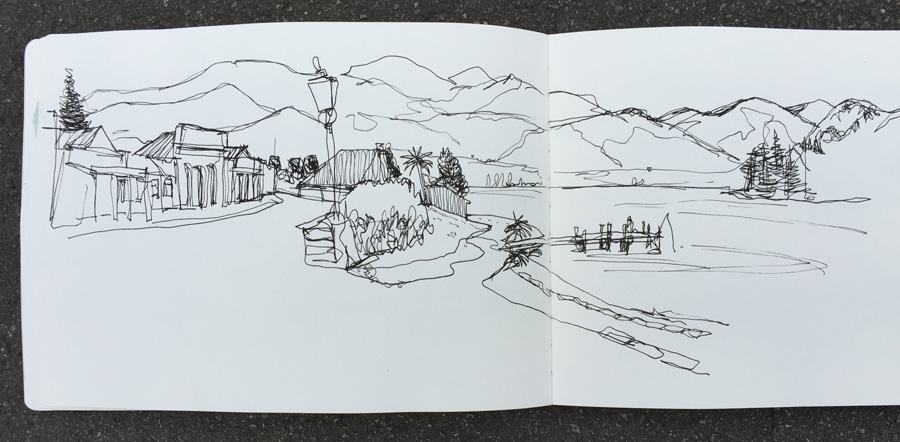
A very quick loose continuous line of a gorgeous view in Cromwell, showing the historic buildings overlooking the lake. It was the end of the day, I was tired and not feeling up to doing a watercolour sketch of the full view. So I just started drawing with a very loose continuous line – it was a lot of fun and enabled me to capture the big picture in a pressure-free way. At the same time I knew I was stretching my eye-hand coordination!

Another quick sketch (well two sketches) of a very unusual house in Geraldine. I decided to do a single continuous line but my drawing got way out of whack. The architect in me wasn’t happy, but the end result is a very quirky sketch that is bizarrely appropriate!
My architect brain decided that for the second version I would set-out a few important edges first and then complete the sketch. You can see these lines in turquoise pencil. I wasn’t thinking about perspective (or even constructing volumes – as I explain in detail in SketchingNow Buildings) but instead was just looking at the lengths, angles and relationships of these few edges.
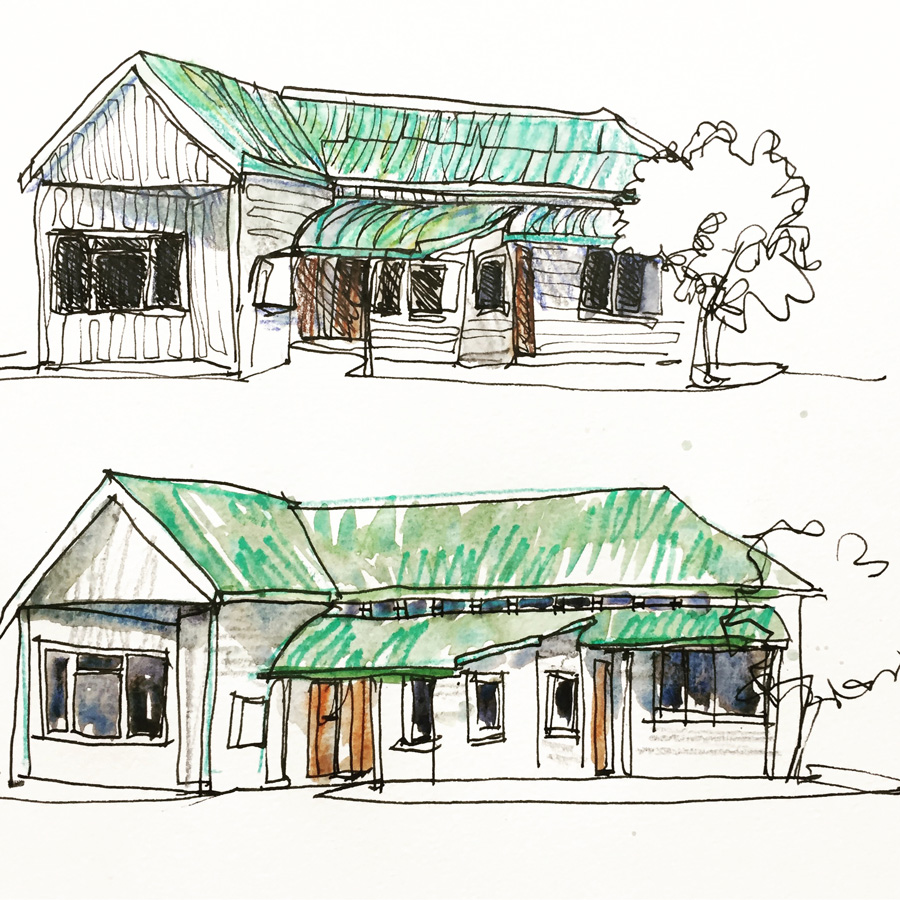
This second version was more accurate (but still a bit wonky!) and while sketching it I wasn’t as distracted by the details.
Okay… I think this is a topic I could write about all day, so I better stop now. I hope that if you are doing the Foundations course, you have enjoyed these extra examples. Please let me know if you have any questions!
This post is part of a new series Foundations Fridays 2017. Click here for more in the series.
As there is a group of people going through my SketchingNow Foundations course at the moment, I thought I would revisit the lessons as well. I want to find new ways of applying the concepts to my sketching as it is right now.
If you are interested in joining in, click here for more details about SketchingNow Foundations.
Please note: this is a self directed course with ‘lifetime’ access so you can work at your own pace and come back to the lessons as many times as you like.



10 Comments
Thanks for this great post. I’ve just started Edges (anyone else out there ?) and have read through your last year’s Foundations Friday posts – brilliant ! Love the atmospheric Cromwell line sketch above – deceptively simple but really catches the feel of the place (not that I’ve been there !!).
Just had a bit of a ‘Liz’ moment today, drawing my monument sketch : put in too much fussy detail and got bogged down, so picked up a pen and tried again doing very quick edges and got a much more appealing sketch ! The angles may not all be quite perfect (it had a hexagonal base !) but the sketch is much more engaging and fun. Lots to learn !
Sounds great Fiona
I too am drawn to the Cromwell sketch. I would love to see vlog of you doing that!! Thanks for your posts, Liz. Blessings.
Thanks. Sadly no video on this trip…. so the end result is all that I have.
Liz, I am so glad you are revisiting these lessons with new examples. I did the foundations course over a year ago and am having a great time doing it again. I think I am getting even more out of the lessons this time around!
Thanks,
Deb
My pleasure Deb
Hi Liz,
I have a problem with the left part of this building. In your photo it looks like a normal straight wall with windows.
In draing cou have in first an angle on the floor that divide the wall in two parts that have an angle.
In second version it is straight on the floor but has an strange angle under the roof.
Is this interpretation or is the foto kidding my eyes?
Ha. Those walls are angled and I drew them expressively as that was the feature I first noticed. Not always need to draw 100% accurately… sometimes allow yourself to draw parts distorted.
thanks Liz,
what a crazy idea of the architect, an angle INSIDE …. not otherwise to get more room. A sharp angle inside a room with one part in darkness …. ok, now I understand why you draw it :-))
Have great pleasure on your further trip, looking forward your sketches from this part of the world, Manuela
I’m just finishing up Buildings and will start over on Edges again and work my way through that, Foundations and Buildings…again. lol. I’m so thankful that you allow “forever” access. Every time I watch and work through them I pick up something else. I think a few more pieces fall into place and that a ha moment happens!
NEWSLETTER
Subscribe for first notification of workshop + online classes and more.