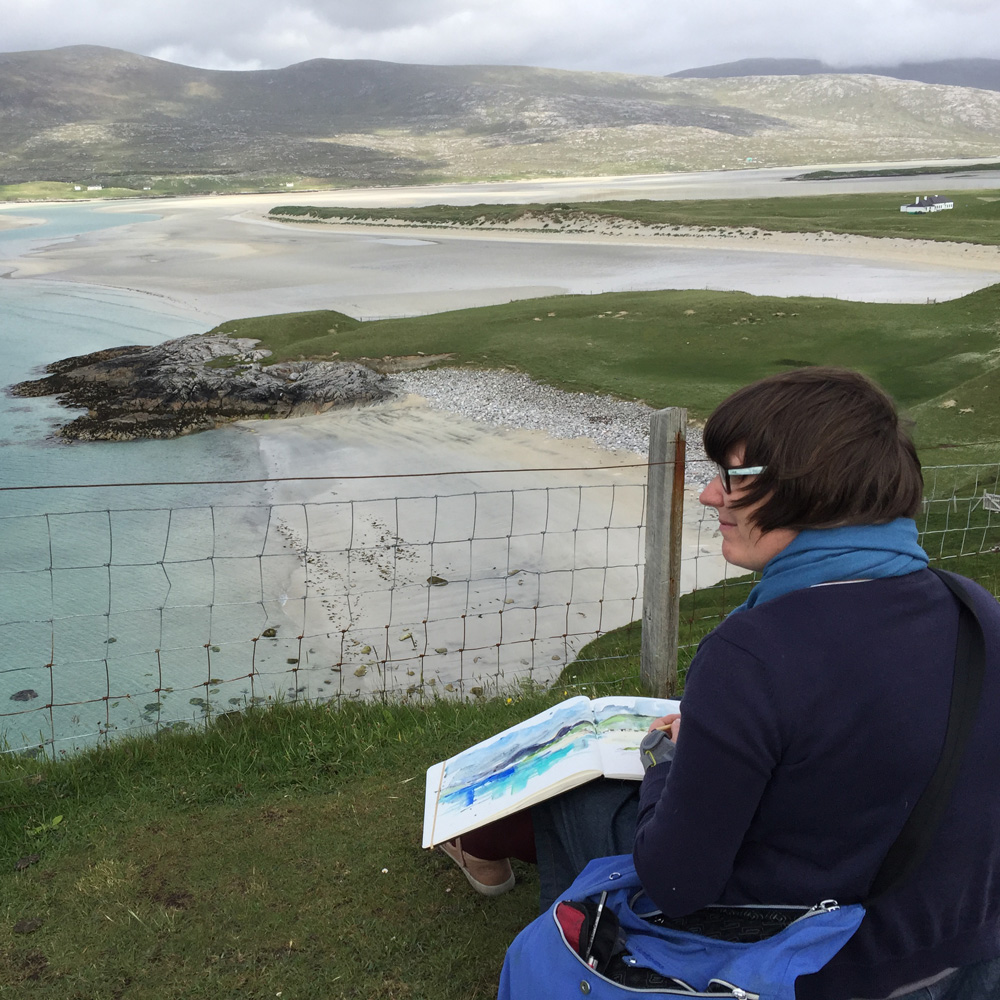
Back in December last year I decided that it was time to start thinking about my next online course. I’d gotten a lot of requests for “SketchingNow Watercolour Part 2” but I wasn’t sure exactly what that meant. So I decided to ask everyone what they struggled with most and what they wanted to learn next. I had an amazing response… so a big thankyou if you were one of the people who sent me an email back then.
Your big struggles
The struggles were in the main what I expected them to be: where to start, how to find a story, colour, values, how to decide whether to start in ink or watercolour and then how to sketch trees, skies, water, boats, cars, people etc etc etc. These were exactly the topics I had been thinking about for the new course so I knew that I was on the right track.
But the most common issue was the logistics of urban sketching – how to put a kit together and how to manage the tools etc. when out on location. Not only was this a struggle, but in many cases this was the biggest barrier to starting.
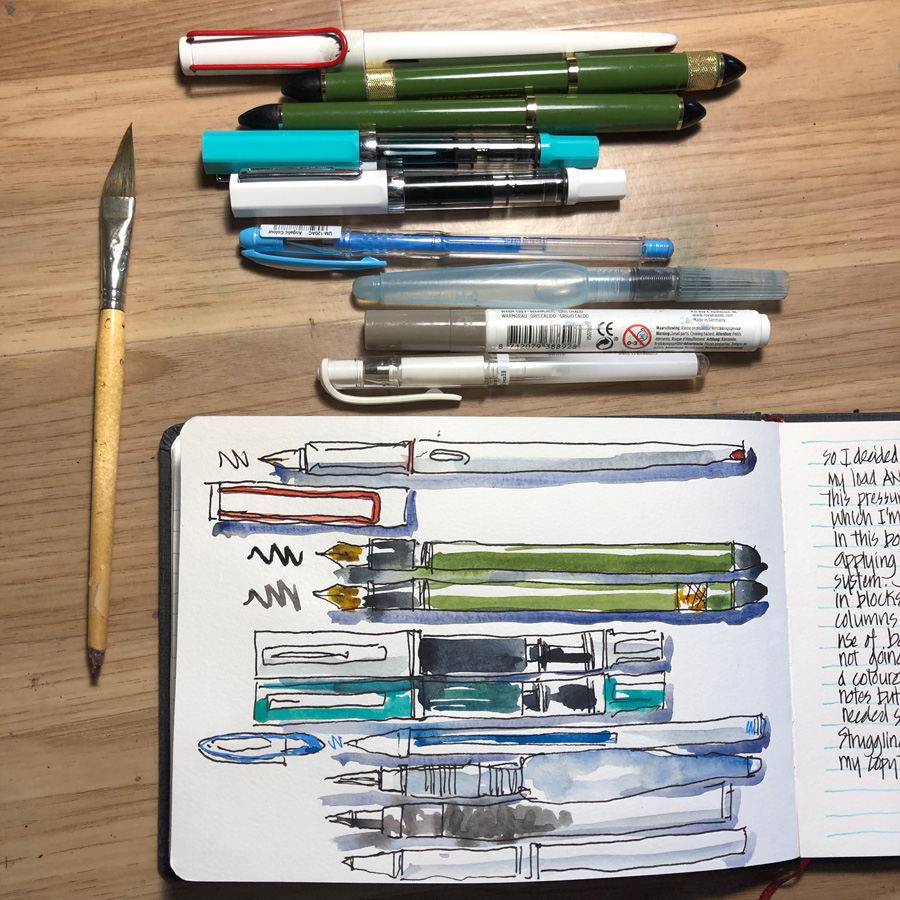
Putting together a sketching kit
This surprised me because I believe that putting a kit together is an ongoing process. It’s not something you need to have right on day 1 and the constant adjustment of it is a huge part of the fun of urban sketching.
I had never thought of it as a major hinderance! But after all your emails, I now totally get it! I can see that when you are starting out it does look as if every urban sketcher has a definitive solution and that you need to have a cool kit in order to be an urban sketcher. But trust me, the reality is that none of us have the perfect solution.
To prove my point about urban sketching kits adjusting all the time – I actually just made a radical change to mine this morning – removing everything but what I think is the basics. But my basics is much more than many other people as I have pens in my kit simply for my writing! So there is definitely not a perfect solution – not one solution for everyone.
What’s really important!
But ultimately having the right tools is much less important than having some techniques and steps to simplify the scene in front of us to something manageable. I’m more and more convinced that deciding on the story and planning some composition – looking at the big picture – are the most crucial aspects to a successful sketch and these will form a big part of the new Watercolour On Location course. And yes, by the way I have opened up enrollment for the new course – click here to check it out! (I will be sharing more about it in the next few weeks)
Logistics of Sketching On Location
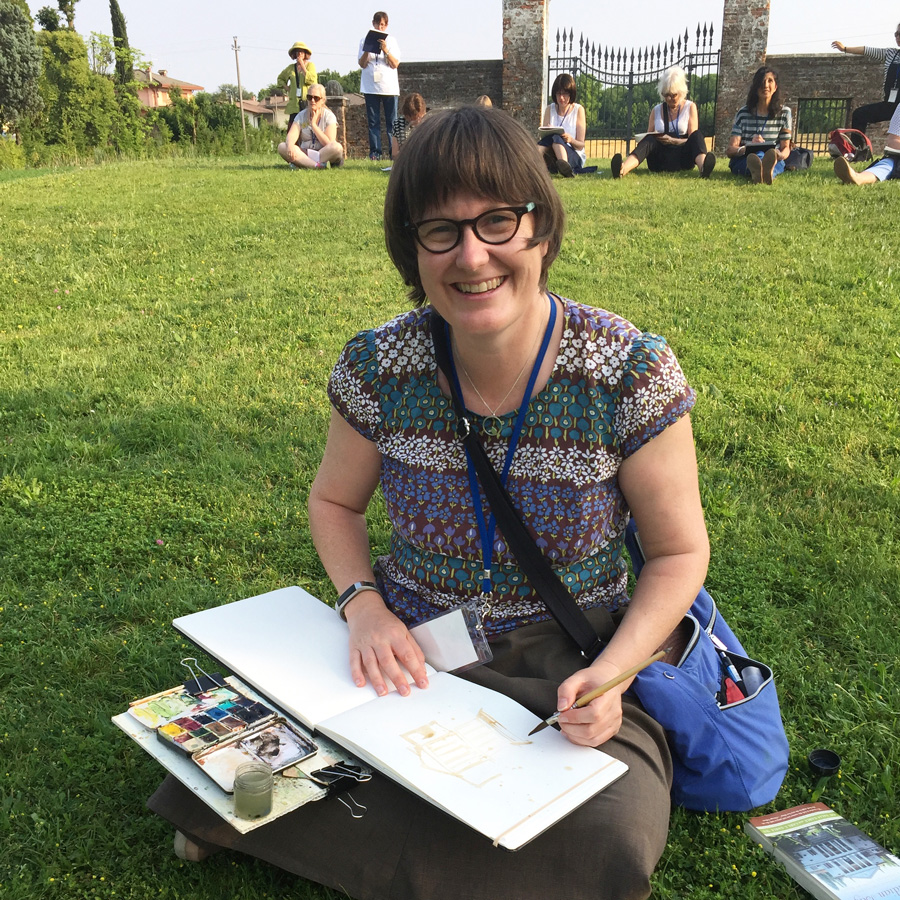
The other concern was simply the logistics of sketching out on the streets (how to manage your supplies and where to sit etc), and once again this is something that is different for everyone. The important thing is to start doing it and work out for yourselves what works best! Everyone has a different standard of what makes a comfortable sitting position and how much weight is too heavy to carry. It’s only through trial and error that we get a feel for this.
Another way of developing our own kit and ways of sketching on location is to get ideas from other people. This is why a lot of talk at urban sketchers meets centres around our stuff, but it’s harder to find that information online especially for beginners. So that’s why I’ve created a gallery section in the Watercolour On Location classroom so that we can share our tips and tricks and create a creative resource for this essential topic.
BTW 1: you know that all the details about my kit lives in the Sketching Tools section, don’t you?
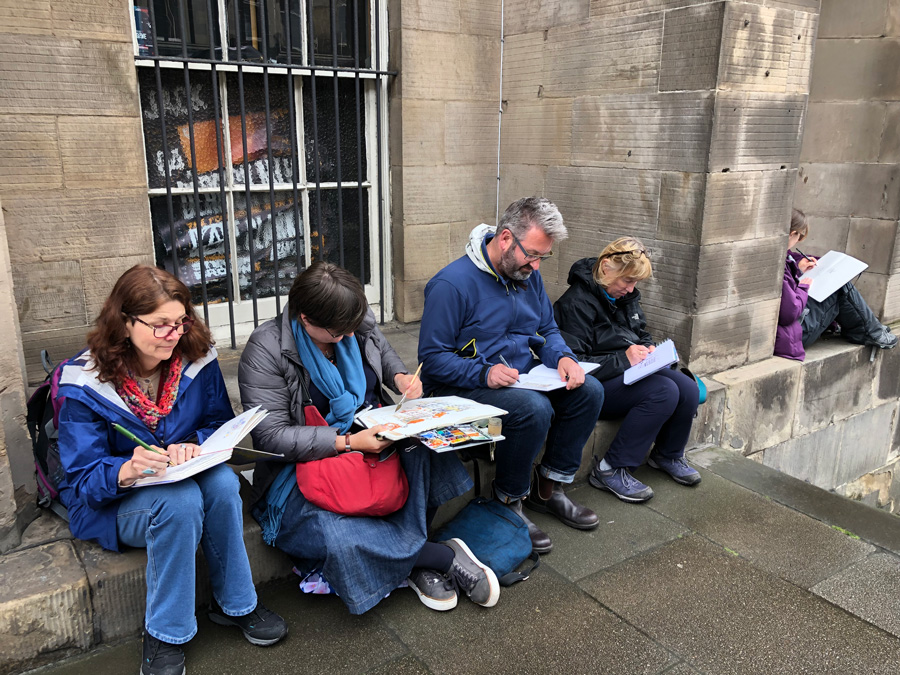
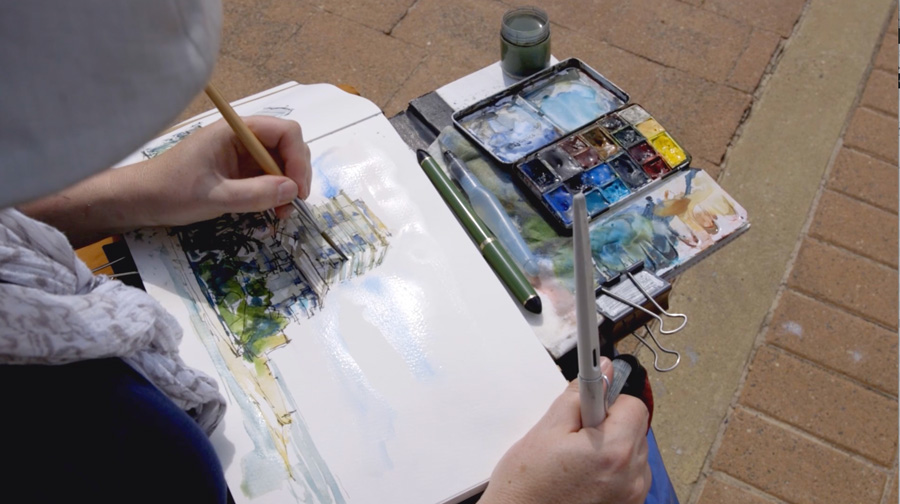
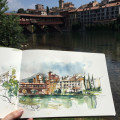
BTW2: this photo is from my recent visit to Edinburgh where we were braving the cold wet weather and sitting in the only dry spot in the whole of Leith.
Watercolour On Location is now available as a self-directed course.
Find out more about WATERCOLOUR ON LOCATION



16 Comments
Ants!? It doesn’t matter where I am they find me.
Hi Liz,
my problem often is, if I have decided on a motive, for example, a house, and I don’t want to let the rest white, I don’t know how I can represent the background or the houses on the sides, without being too detailed.
I would love to have you address what you do about refreshing your water when you are out for a full day. Do you carry a bottle to refill from and not worry about keeping your kit light or do you not worry about how dirty your little bottle gets?
I’m looking forward to your course, and God Bless.
What ideal lighting scenarios do you look for…….(while seeking shade for yourself)? (In photography, we look for early moo and late day “golden hour” lower contrast looks, but that isn’t always feasible.)
…early morning (not “moo”)
I try to replicate the colours too accurately, on stone buildings especially if they are cream/white in colour. I put on a shadows and it ends up looking like a grey building. Shadows make such a difference to the end result, but I find it a struggle.I either end up with them too dark, or not dark enough.
It sounds an exciting course, thank youLiz.
The real time conflict between trying to finish a painting quickly vs needing time to let areas dry sufficiently before adding layers that will not spread and blend into the wet areas.
When I lived in the States my biggest challenge was the cold. I sketched from inside my car. Now I live on the Sunshine Coast. Queensland, My biggest challenge, especially in summer is the sun, I find myself sketching from inside the car with the windows down sometimes. I need to remember when is the best time to sketch a location morning or afternoon. I wear protective clothing and a hat and will look for shade from trees. Then I am battling ants. My challenge this year is to work out a better way to protect myself from the sun, This may involve some sort of umbrella system. The heat also drys the paint in my palette instantly. So that is a challenge. A third challenge is modern white buildings. I know I should show shadows – I am playing with the idea of bright blue sky, saturated colors of surrounding objects. I may then have a focal point problem.
I love the idea of being able to see you go out for a day of sketching! It would be cool to see you sketch at a variety of locations to see how you set-up at each.
– How do you decide where to go?
– Once you find something to sketch, how do you figure out where to sit/set-up?
Thanks Lisa – will be sharing exactly that kind of stuff in this bonus lesson!
I’d love it if you shared the questions you ask yourself before beginning and along the way. Are you guided by aesthetic choices, artistic ones, ways watercolour as a medium is a challenge, what you suspect you can do quickly, the decision process for focusing in, etc.
Thanks Lael – I intend to do that… and all of those themes are a big part of the lessons as well!
Liz, I have signed up for your Watercolor on Location course and my question is, “How to handle sketching when you are with non-sketching travelers? Everyone is anxious to move to the next site. I am not a fast sketcher, yet.
HI Shirley – great question. It will be a good topic for the forum when it opens as I’m sure other people will have lots of great ideas. Plus there is some ideas coming in Lesson 4 🙂
I have struggles with my spread design.
Hi Liz!
I can hardly wait to start the new course!
I think the part that frustrates me the most when watercoloring on location is (not) having patience to wait for paint (or even ink) to dry. I normally do not have enough patience due to time or weather conditions or simply because I am tired, so I jump into the next step of the coloring process, often times jeopardizing the results. So more often than not, I prefer not to watercolor on location, as when I watercolor at home, I do not feel rushed and the results are most of the time more to my liking.
NEWSLETTER
Subscribe for first notification of workshop + online classes and more.